Tag: C++
-

Particle based animation with openFrameworks
Continuing on with my other particle based generative art, here’s an animation I made with openFrameworks. A still:
-

Particle based generative art with openFrameworks
I’ve recently started playing with openFrameworks and I have to say I’m very impressed. Having messed with Processing previously, openFrameworks doesn’t feel too alien. It does have a steeper learning curve than Processing but it you’ve programmed C++ before it shouldn’t be long until you can whip up your first masterpieces. Last week I’ve created a very simple…
-
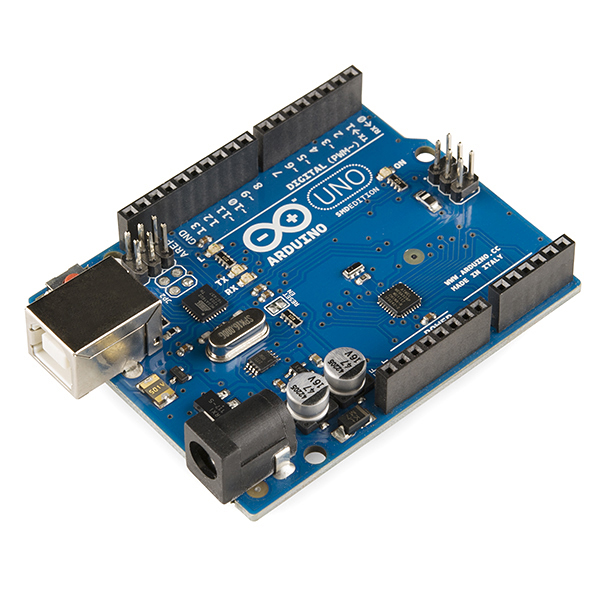
Calibrator: An Arduino library to calibrate sensors hooked to analog inputs
Once you get past your first few projects with the Arduino, you soon realize that the calibration method they show on their webpage is just a sample and cannot be used with many sensors without polluting your code with a ton of variables. So, here it is. My own take on sensor calibration library. You…