Month: June 2013
-

Hacking O’Reilly’s “Fluent Conference 2013 ” video download page
The Fluent Conference 2013 videos were out and O’Reilly was offering a nice 50% discount to early purchasers. I went to their website and made the purchase. When I looked at the download page I realized that no videos were linked to my Dropbox account (like O’Reilly does when you purchase a book from them).…
-

Learn how to read and write binary numbers in 5 minutes.
Over the years I’ve been asked to explain this to many people and most of the times as I was done explaining this, people would say “Huh, I thought it was harder!”. I think the reason is that when people are taught how to do this they are shown the math behind it and they…
-
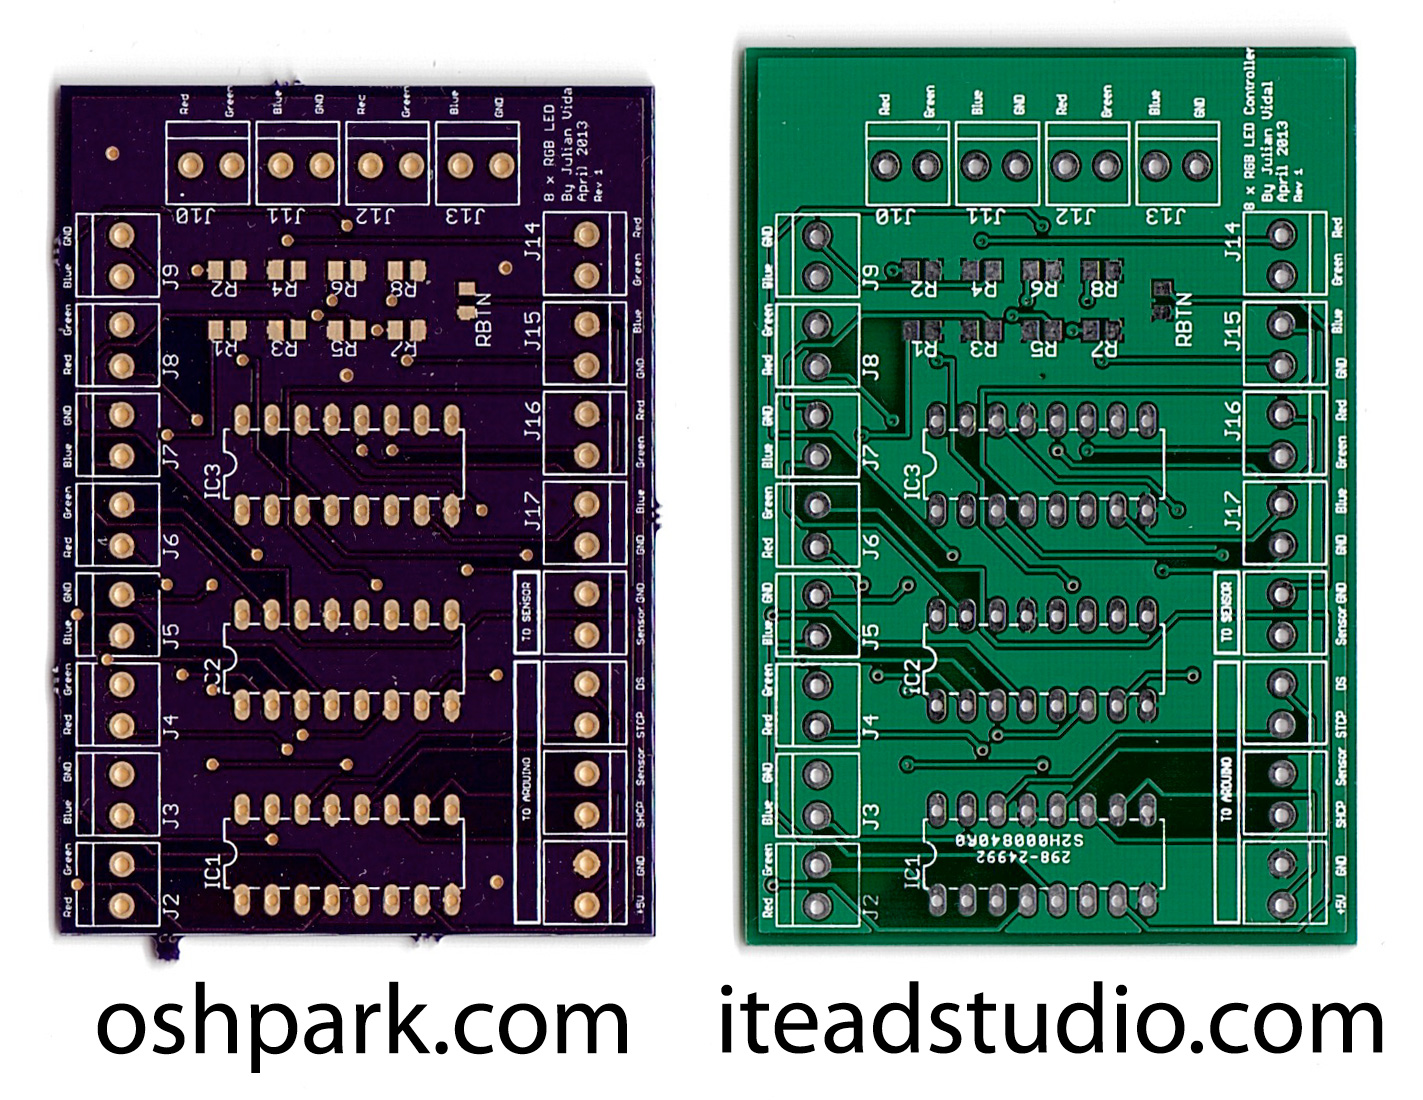
PCB Comparison: OSH Park vs. iTeadStudio
I took my 8 RGB LED Controller prototype and decided to try to make a PCB of it (my first attempt at a PCB, that is). Most people at the Arduino forums had recommended I do this in EAGLE but they warned me that the learning curve was steep. So I tried doing it in…
-
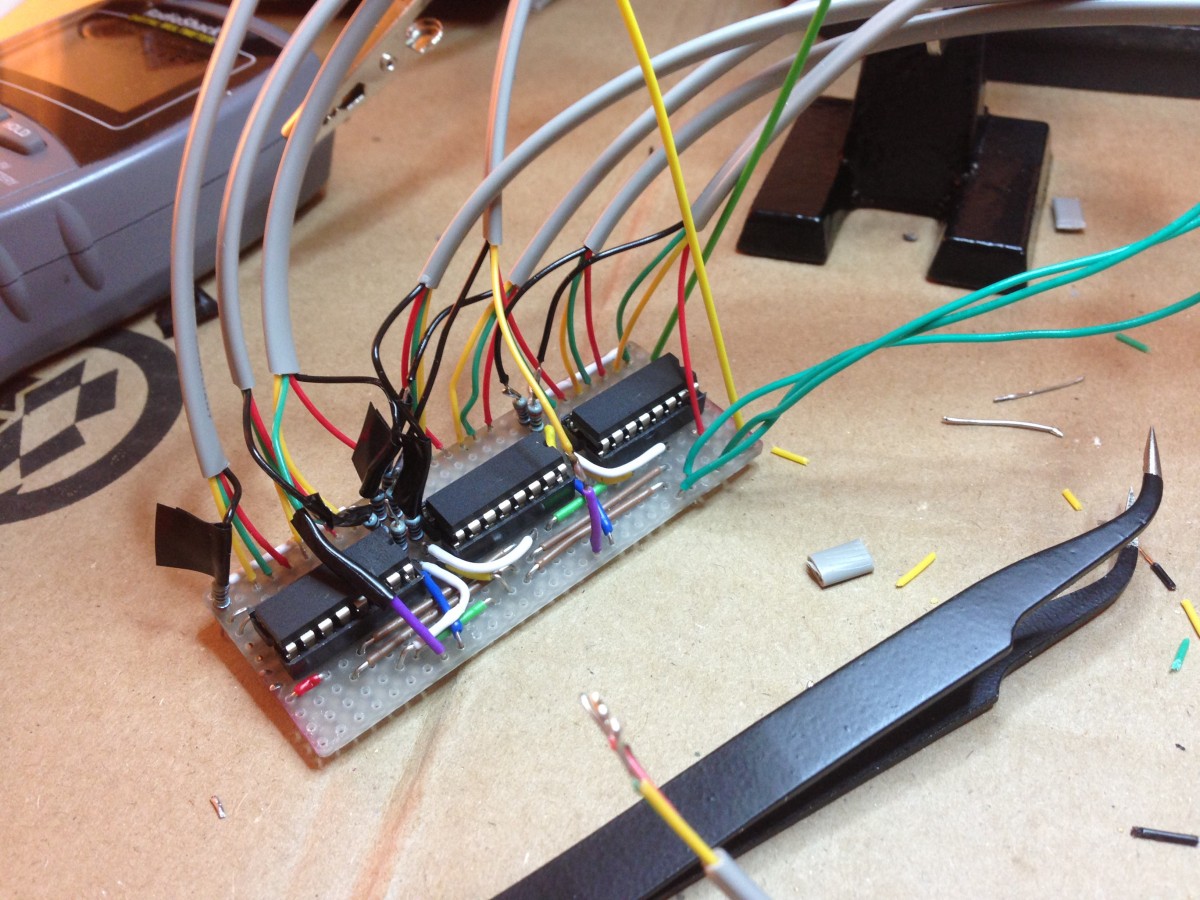
8 RGB LED Controller
UPDATE: I’ve now made a custom PCB out of this. This is my first experiment with Arduino. Like most people starting out with Arduino, I wanted to make stuff blink! So after finishing up the Arduino Starter Project Book I started hooking up LEDs to my Uno’s outputs. I very quickly ran out of outputs…
-

Long exposure shots
I recently bought a shutter release for my Canon 450D. This allows me to use the BULB mode on my camera and shoot very long exposures. I took it for a spin yesterday and this is what I came up with. These were taken in Boston, MA where Mass Ave meets Westland Ave. Some of…