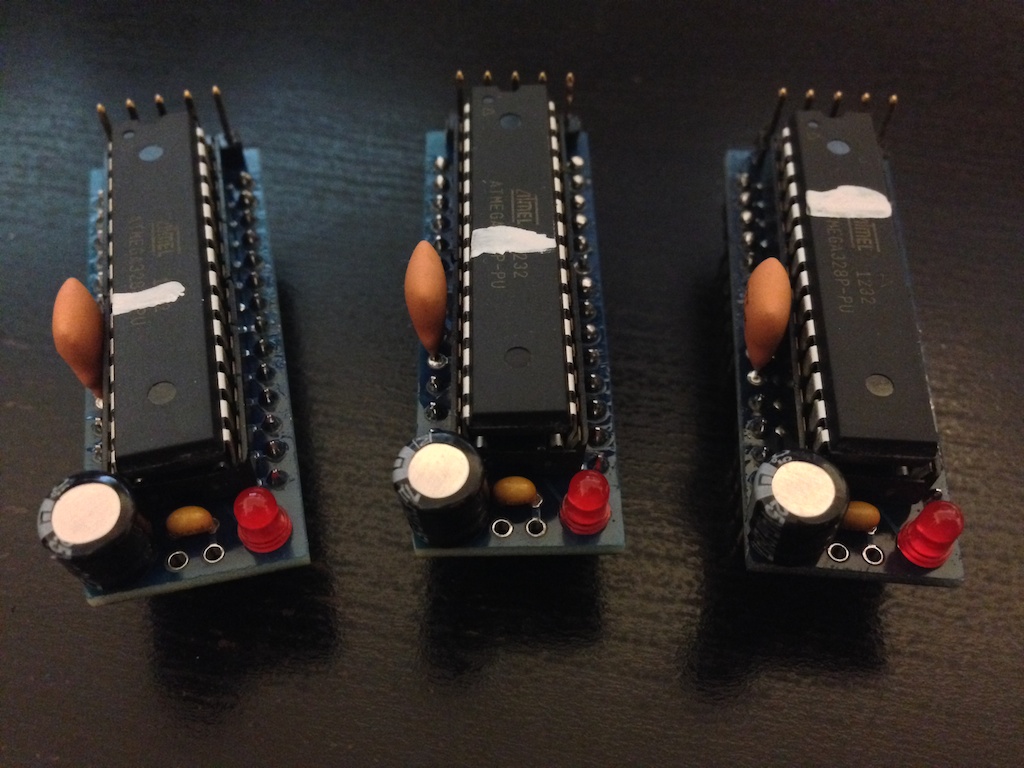
How to program a Dorkboard with an FTDI breakout

I’ve been playing with my Arduino long enough to realize that it is much cheaper to maker my own breadboard Arduino and transfer that into either a PCB or Veroboard than to actually buy a full Arduino for every little thing I make.

In order to program my breadboard Arduino I’m using Sparkfun’s FTDI Basic Breakout. I think this is the easiest way to program (and re-program) a breadboard Arduino; just stick some 6-pin headers, hook them up, and you’re good to go.

Now I’ve recently acquired a few Dorkboards. These are a very minimalistic PCB version of an Arduino (fully compatible since they use the same chip) and are also very quick to assemble. I’m using these as a starter for my projects now. The only problem is that whoever designed them thought it would work better for them to have a 5-pin connector instead of a 6-pin one. This means that in order to program them the same way you do an Arduino you need to convert this into a 6-pin connector. This is easy enough to do and there are two ways that I can show you. Both are conceptually the same and pretty much consist of creating some sort of connector using the following schematics:

Dorkboard to FTDI connector

Option 1: Custom cable

You can easily create a custom cable by taking 5 pieces of solid core wire and soldering them. The resulting cable will look like this (if done poorly like I did):

Dorkboard adapter cable

In this picture you can see that I’ve included the FTDI adapter on the left.

Option 2: Custom PCB

I’ve made this little PCB board (download link below) that you can use over and over that will resist wear and tear much better than the cable above.

Dorkboard to FTDI PCB adapter

Download the Eagle Schematics and Board files.

As you can see this is just a tiny little board but serves its purpose. In this case I’ve soldered male headers to both ends but that will depend on what you’ve soldered to your Dorkboard. In my case I didn’t have pre-bent headers so I bent them with pliers, that’s why they look a little crooked, but the connection is quite snug. Since the Dorkboard connector is on the edge of the board you can even connect straight headers and it will work too but I prefer mine bent. The best part is that you can get three of these boards made for only $2.50 at OSHPark.com (that includes shipping too!) so that you can make a male version, a female version, and still have a spare.

Once this adapter is in place, programming the Dorkboard is done exactly the same way as the Arduino!